
Anniversary Mountain Caves: Entrance, Bear Pit and Exit
Follow the cave entrance, bear-pit crossing and final trap route in Anniversary’s opening level.
Get through the entrance
Climb the snowy rock, grab the horizontal ledge and traverse right. At a break in the ledge, jump sideways while holding the travel direction. Continue around the corner, then jump away from the wall toward the pale stone platform.
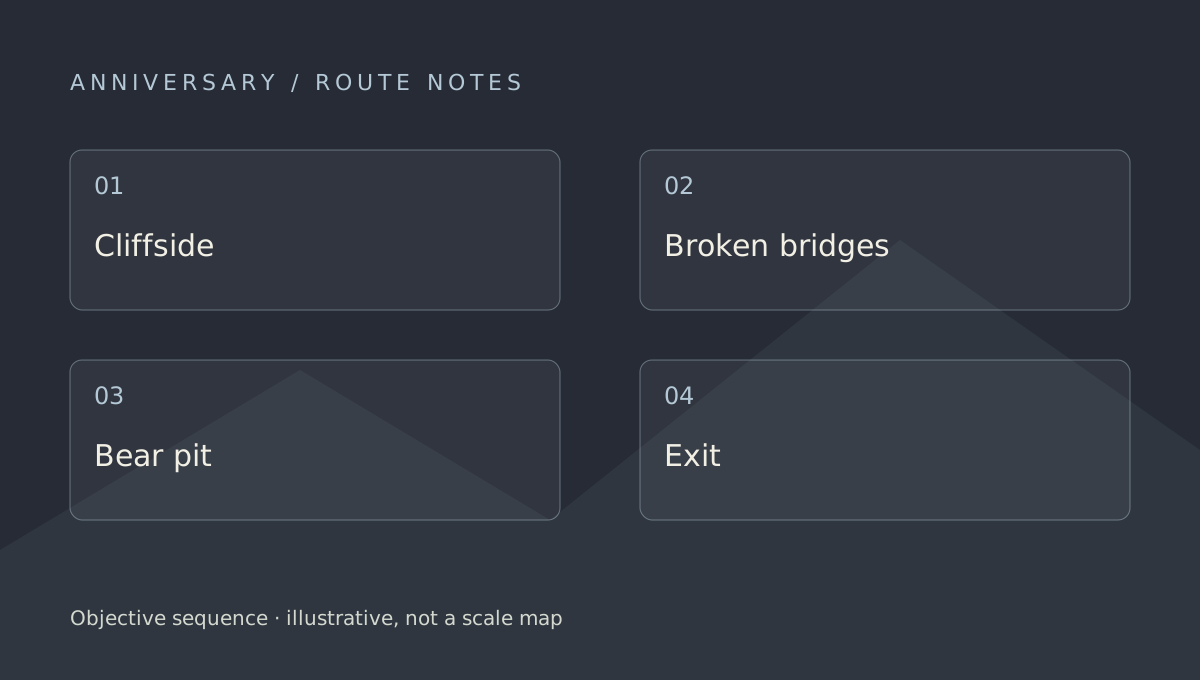
Use the bear pit’s safe foothold
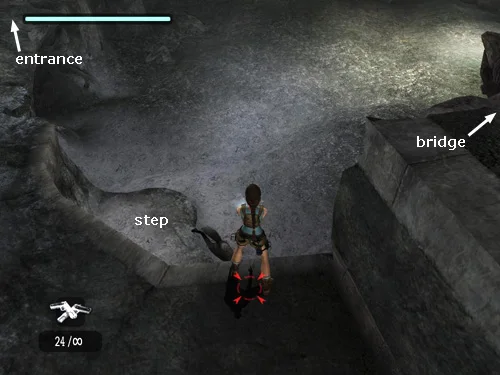
At the pit, look for the white handholds on the right wall. The lower stone step gives Lara a place to stand and shoot the bear without remaining on the pit floor. If it stays out of sight, climb back up and approach again rather than dropping blindly into its passage.
Separate progress from the hidden relic
The main route continues beyond the pit into the trap-filled rooms and exit mechanism. The relic requires an additional detour; passing a checkpoint does not mean every collectible in that area has been found.
This is an opening-route reference, not a complete collectible checklist. Wii-only reward notes and extra pickups in the source are not PS3 requirements.
Route at a glance
Visual reference
Video reference

Community video reference. Controller prompts and optional routes may differ from your version.
Keep exploring
- Anniversary Vilcabamba: Village Key and Temple Route
- Anniversary Lost Valley: Cogs, Waterfall and T. rex
- All anniversary guides
- Start with the trilogy’s play order
Research references and scope
These are concise reference-based route notes, not a claim of personal gameplay testing or an exhaustive collectible checklist. Reference 1
Related Articles
anniversary
Anniversary Vilcabamba: Village Key and Temple Route
Find the Village Key and follow the temple-side routes in City of Vilcabamba without importing Wii-only cog requirements.
anniversary
Anniversary Coliseum: Find the Balcony Key and Upper Route
Use the arena, gladiator cages and balcony route to progress through Anniversary’s Coliseum.
anniversary
Anniversary Lost Valley: Cogs, Waterfall and T. rex
Understand the three-cog objective and the role of adrenaline dodge in Anniversary’s Lost Valley.
Was this helpful?
Thanks for the feedback!